
工作流程图
主要介绍工作原理,webpack基础不再赘述
流程大致为,转载自
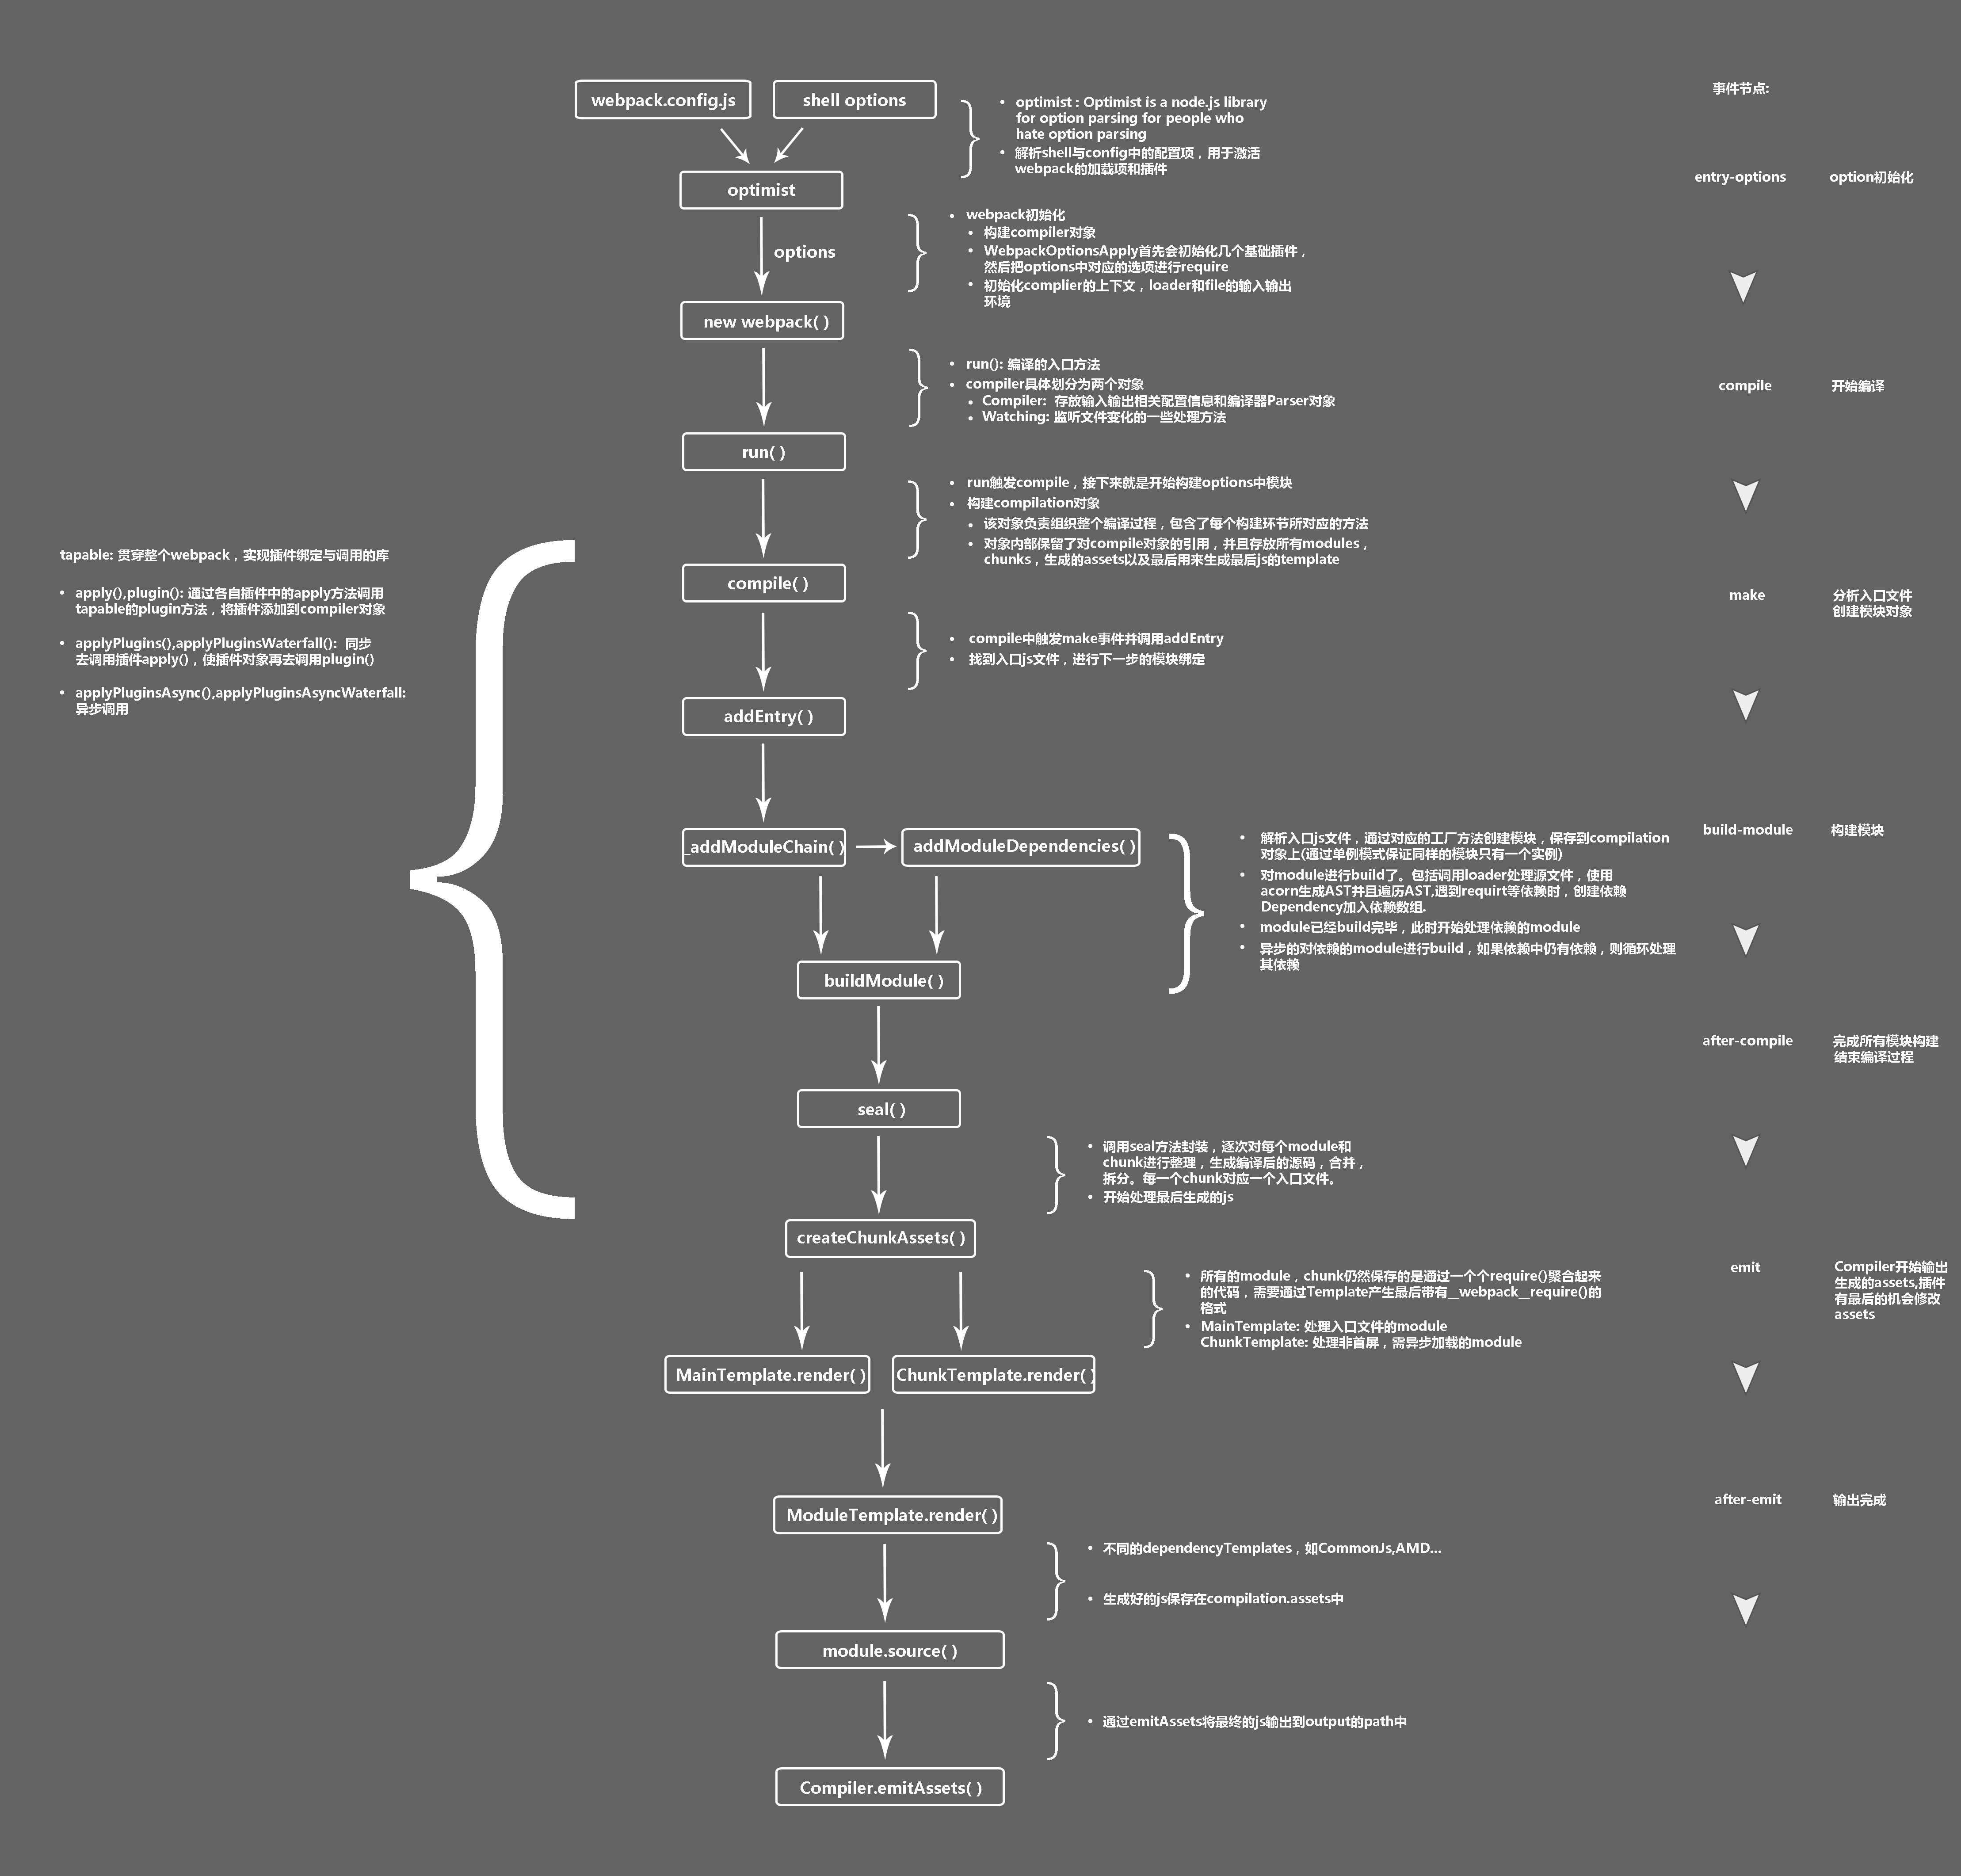
初始化参数:从配置文件和Shell语句中读取与合并参数,得出最终的参数;
开始编译: 用上一步得到的参数初始化Complier对象,加载所有配置的插件,执行对象的run方法开始执行编译;
确定入口: 根据配置中的entry找出所有入口文件;
编译模块:从入口文件出发,调用所有配置的Loader对模块进行翻译,再找出该模块依赖的模块,再递归本步骤知道所有入口依赖的文件都经过了本步骤的处理;
完成模块编译: 在经过第4步使用Loader翻译完所有模块后,得到了每个模块被翻译后的最终内容以及他们之间的依赖关系;
输出资源:根据入口和模块之间的依赖关系,组装成一个个包含多个模块的Chunk,再把每个Chunk转换成一个单独的文件加入到输出列表,这步是可以修改输出内容的最后机会;
输出完成: 在确定好输出内容后,根据配置确定输出的路径和文件名,把文件内容写入到文件系统。
手动实现
分析入口文件
const fs = require('fs') module.exports = class Webpack{ constructor(options) { console.log(options); const {entry, output} = options; this.entry = entry this.output = output } run() { console.log('webpack run'); this.parse(this.entry) } parse(entryFile) { // 分析入口文件 const content = fs.readFileSync(entryFile, 'utf-8') console.log(content); } }
解析依赖关系
不推荐使用字符串截取,使用@babel/parser来解析内部语法,需要安装npm包
使用parser解析读取到的文件内容
parse(entryFile) { // 分析入口文件 const content = fs.readFileSync(entryFile, 'utf-8') console.log(content); // 分析依赖及以来的路径 // 使用parser把内容抽象成语法树 const ast = parser.parse(content, { sourceType: 'module' }) console.log(ast); }
运行结果如下
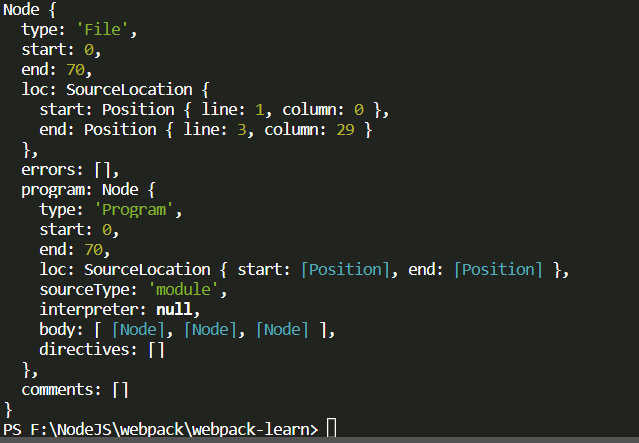
可以发现里面折叠了3个Node结点,打开来看一下

什么?看懂了!!!大神收下膝盖,不过相信很多人跟我一样第一眼看到时蒙逼的吧,不慌,再好好看看
打开index.js的时候你可能会发现点什么
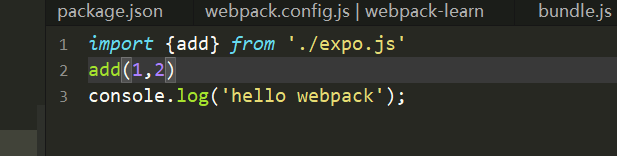
3行代码,3个结点,别太早下结论,来验证一下
再加点东西
import {add} from './expo.js' import {minus} from './expo.js' add(1,2) minux(3,2) console.log('hello webpack');
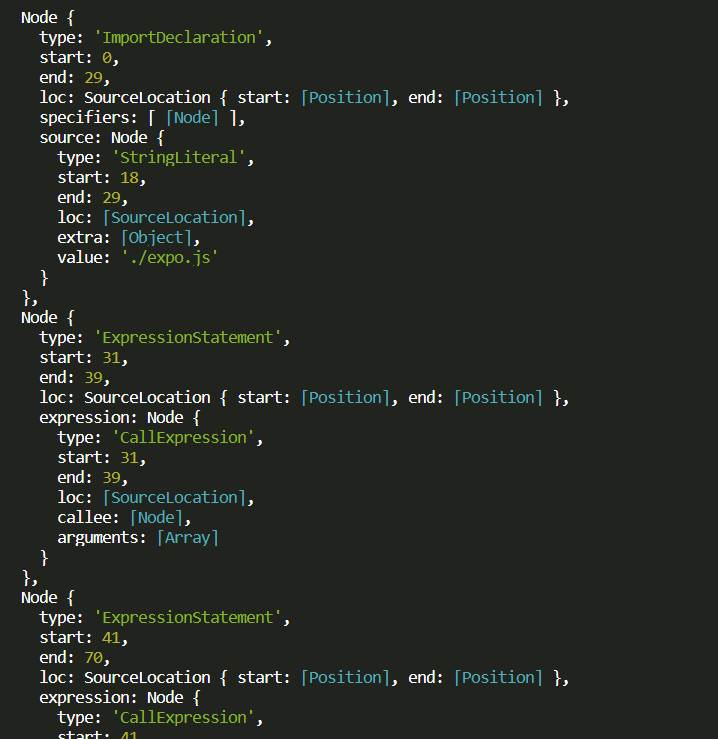
然后再看解析结果(终端放不开,找了个工具盛一下)
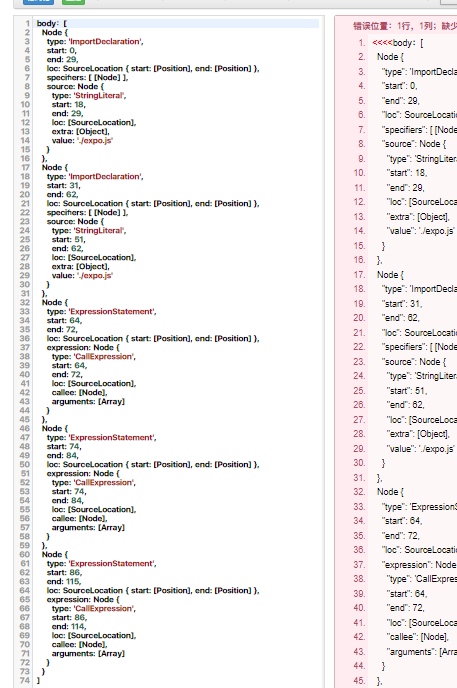
这下稳了

ImportDeclaration表示引入依赖,ExpressionStatement表示表达式
然后再来根据分析结果,遍历引入的依赖,使用@babel/traverse,需要安装npm包
const dependencies = [] traverse(ast, { ImportDeclaration({node}) { // 可以分析表达式 const finalName = path.join(path.dirname(entryFile), node.source.value) // 拼接路径 // console.log(finalName); dependencies.push(finalName) } }) console.log(dependencies);
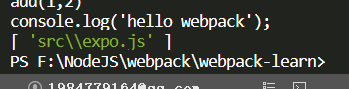
打印一下,可以看到已经获取到了引入的依赖
然后就是将ES6等语法转换为浏览器可以执行的代码,使用@babel/core和@babel/preset-env工具
const {code} = transformFromAst(ast, null, { presets: ['@babel/preset-env'] }) console.log(code);
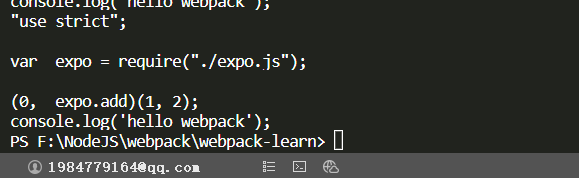
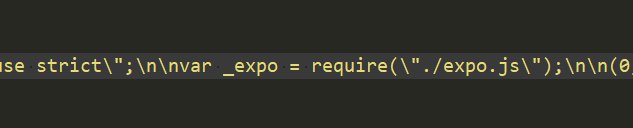
可以看到已经将es6的import转换成了require。到这里依赖的分析已经完成了,将解析到的结果作为一个对象返回出去
return { entryFile, dependencies, code }
然后我们拿到了这么一个东西
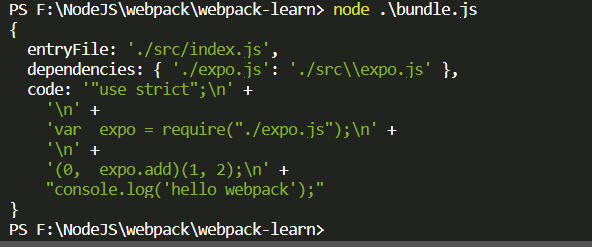
然后还要解析依赖中是否存在依赖。。。

run() { const info = this.parse(this.entry) // console.log(info); // 处理其他模块,然后汇总 this.modules.push(info) for(let i = 0; i < this.modules.length; i++) { const item = this.modules[i] const {dependencies} = item if(dependencies) { for(let j in dependencies) { this.modules.push(this.parse(dependencies[j])) } } } console.log(this.modules); }
如果你看过webpack打包的代码,你会发现,打包出来的代码都是以对象形式存在的,我们还要继续处理
生成文件
解析完成了就要把解析好的代码输出到文件中
file(code) { // 生成文件 const filePath = path.join(this.output.path, this.output.filename) const newCode = JSON.parse(code) const bundle = `(function() { })(${newCode})` fs.writeFileSync(filePath, bundle, 'utf-8') }
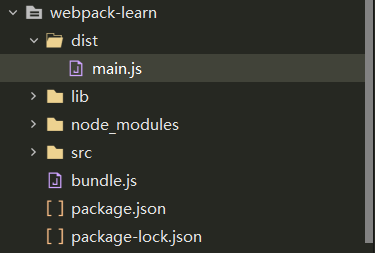
新建一个dist目录,然后运行,会看到已经自动生成了一个main.js
这时其实是有问题的,路径还是原来的引用路径,但是文件到了dist目录下,需要对路径进行处理
因为在对象中有绝对地址,所以直接读取出来
function localRequire(relativePath) { return require(graph[module].dependencies[relativePath]) }
然后就来到了webpack的核心require,他模仿了Node中的require操作,是一个立即执行函数,所以文件能直接在浏览器运行
file(code) { // 生成文件 const filePath = path.join(this.output.path, this.output.filename) const newCode = JSON.stringify(code) const bundle = `(function(graph) { function require(module){ function localRequire(relativePath) { return require(graph[module].dependencies[relativePath]) } var exports = {}; (function(require, exports, code) { eval(code) })(localRequire, exports, graph[module].code) return exports } require('${this.entry}') })(${newCode})` fs.writeFileSync(filePath, bundle, 'utf-8') }
代码
代码已上传码云