WebContainer是StackBlitz开源的一款在浏览器中运行NodeJS的工具,结合File System API可以实现Web IDE等功能。
说起在浏览器中运行NodeJS,你第一个应该想到的就是WebAssembly,将NodeJS编译为二进制WASM文件,在浏览器中运行。
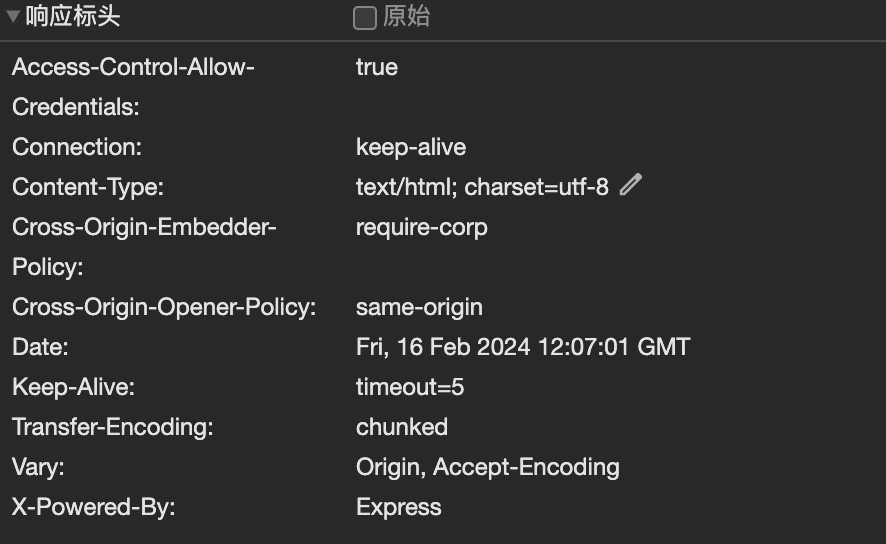
没错,WebContainer就是基于WebAssembly,说到这里应该就想到了,需要给静态文件服务器设置响应头
Cross-Origin-Embedder-Policy: require-corp
Cross-Origin-Opener-Policy: same-origin
而且,需要在https/localhost环境下使用,下面就来体验一下。
环境配置
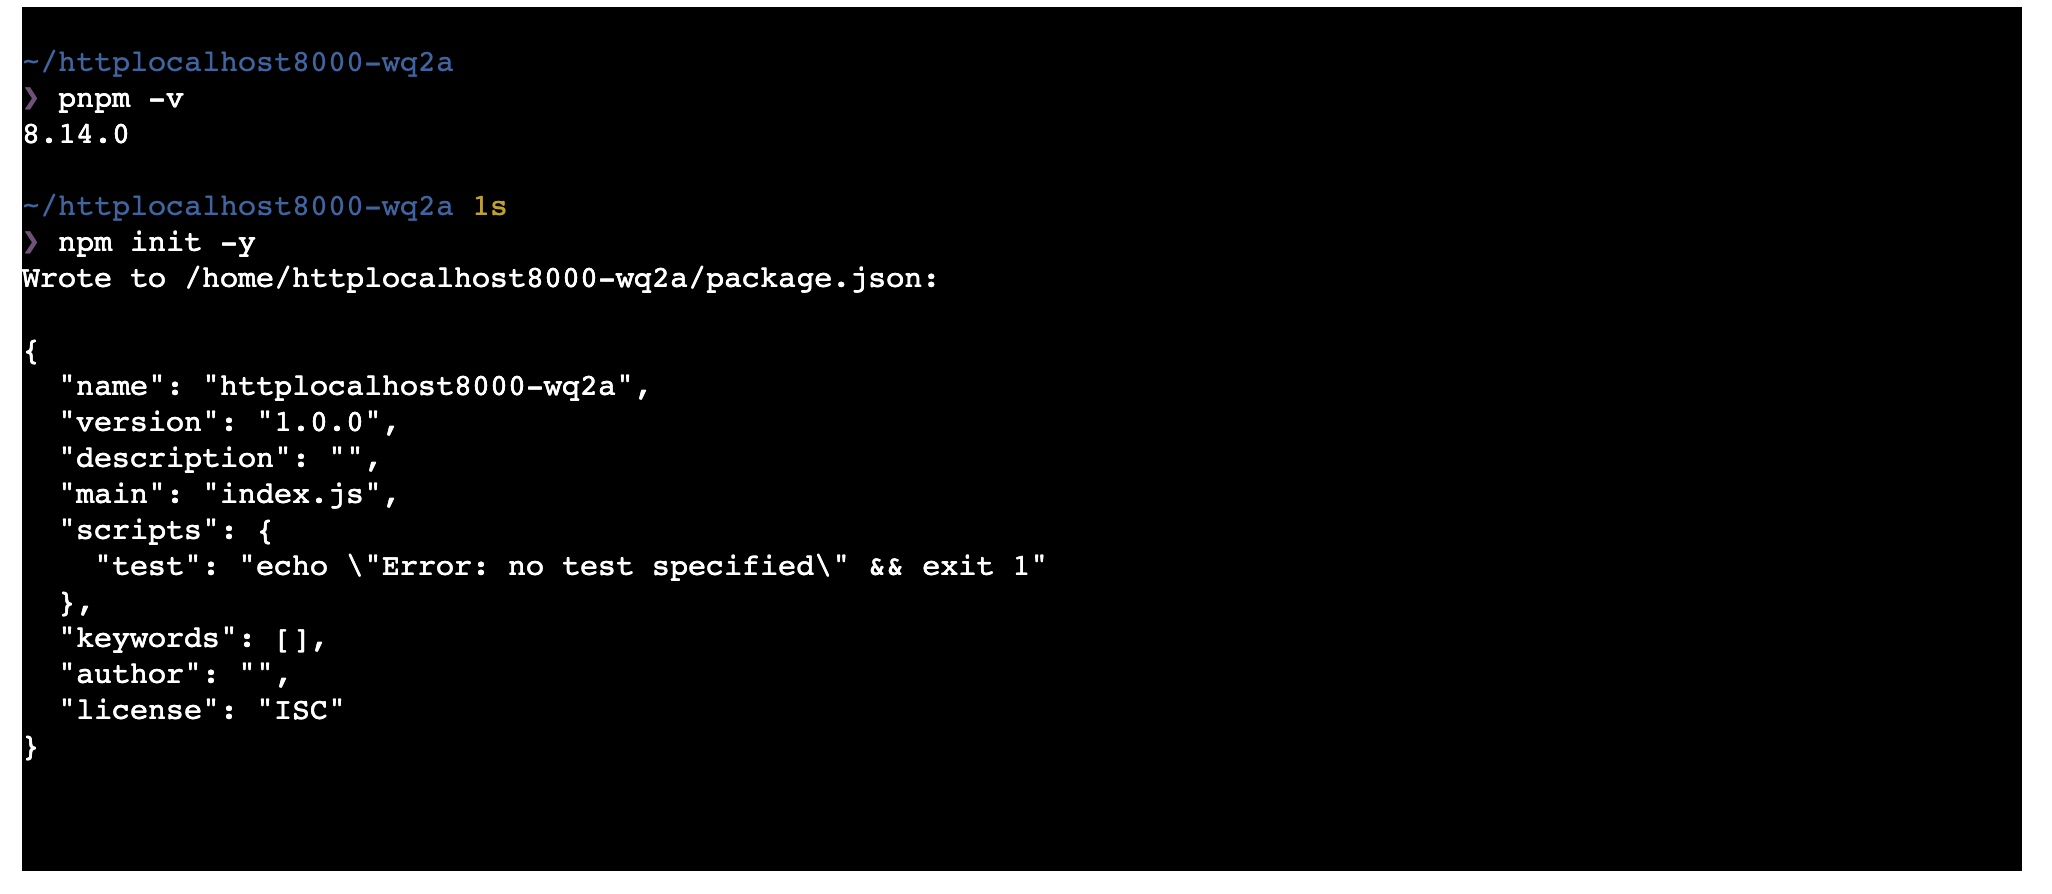
首先初始化一个前端开发环境,这次使用Umi来开发。
$ pnpm dlx create-umi@latest
✔ Install the following package: create-umi? (Y/n) · true
✔ Pick Npm Client › pnpm
✔ Pick Npm Registry › taobao
为了让环境支持COEP/COOP,在根目录下新建一个plugin.ts,用于修改devServer的响应头
import type { IApi } from 'umi';

export default (api: IApi) => {
  api.addMiddlewares(() => {
    return function (
      req,
      res,
      next,
    ) {
      res.setHeader('Cross-Origin-Embedder-Policy', 'require-corp');
      res.setHeader('Cross-Origin-Opener-Policy', 'same-origin');
      next();
    }
  });
};
此时访问开发环境页面就可以看到了
然后安装WebContainer,这个是不区分框架的,直接安装
$ pnpm install @webcontainer/api
运行WebContainer
首先创建一个webContainer 实例
import React, { useEffect, useRef } from 'react'
import { WebContainer } from '@webcontainer/api'

export default function container() {
  const containerRef = useRef<WebContainer>()

  function print(text: string) {
    console.log(text)
  }

  async function runCmd(cmd: string, args: string[]) {
    if (!containerRef.current) return;

    const process = await containerRef.current.spawn(cmd, args)

    process.output.pipeTo(new WritableStream({
      write: (chunk) => {
        print(chunk)
      }
    }))

    if (await process.exit) {
      print('process exited with code: ' + process.exit);
    }
  }

  useEffect(() => {
    window.addEventListener('load', async () => {
      containerRef.current = await WebContainer.boot()
      print('boot completed')
      runCmd('node', ['-v'])
    })
  }, [])

  return (
    <div>contaienr</div>
  )
}
等待所有资源加载完毕之后,执行boot方法启动,但后执行node -v命令
spawn方法用于执行命令,和NodeJS中的spawn方法类似,会返回一个输入输出流,可以讲输出流进行输出展示。
关于流的操作,可以看下之前的文章

现在我们在代码中写死了执行的命令,我们需要通过输入输出和用户进行交互,选择一款Web Terminal工具帮我们快速实现终端交互,这里我选择xterm,这个根据个人喜好来就行。
import React, { useRef, useEffect } from 'react';
import { Terminal } from 'xterm';
import 'xterm/css/xterm.css';
import EventEmitter from 'eventemitter3';

const eventEmitter = new EventEmitter();
export const handlers = {
  print(content: string) {
    eventEmitter.emit('output', content);
  }
}

interface IProps {
  onCommand: (command: string) => void;
}

export default function MyTerminal(props: IProps) {
  const { onCommand } = props;
  const terminalRef = useRef(null);

  useEffect(() => {
    if (terminalRef.current) {
      // 初始化terminal
      const term = new Terminal();
      term.open(terminalRef.current);
      // 输入事件,将键盘输入通过回调转发到WebContainer
      term.onData(onCommand);
      // 监听到输出事件时,通过终端进行打印
      eventEmitter.on('output', (content: string) => {
        term.write(content);
      });

      return () => {
        // 在组件卸载时销毁终端实例
        term.dispose();
      };
    }
  }, [terminalRef]);

  return <div ref={terminalRef} style={{ width: 1000, height: 600, margin: '0 auto' }} />;
}
通过eventemitter来进行组件间的消息转发,可以让组件架构清晰的同时减少React组件间绑定的操作。
将之前的WebContainer代码稍作修改,通过xterm进行交互
import React, { useEffect, useRef } from 'react'
import { WebContainer } from '@webcontainer/api'
import MyTerminal, { handlers } from '@/components/MyTerminal';

export default function container() {
  const containerRef = useRef<WebContainer>()
  const inputRef = useRef<WritableStreamDefaultWriter>()
  const { print } = handlers

  function printText(text: string) {
    print(text)
  }

  async function startShell() {
    if (!containerRef.current) return;

    const process = await containerRef.current.spawn('jsh')
    process.output.pipeTo(new WritableStream({
      write: (chunk) => {
        printText(chunk)
      }
    }))

    inputRef.current = process.input.getWriter()
  }

  useEffect(() => {
    window.addEventListener('load', async () => {
      containerRef.current = await WebContainer.boot()
      await startShell()
    })
  }, [])

  return (
    <div>
      <MyTerminal onCommand={async (command) => {
        inputRef.current?.write(command)
      }} />
    </div>
  )
}
此时就可以在浏览器的命令行进行node相关的操作了。
 使用pnpm安装一个依赖执行一下看看(内置npm、yarn和pnpm)
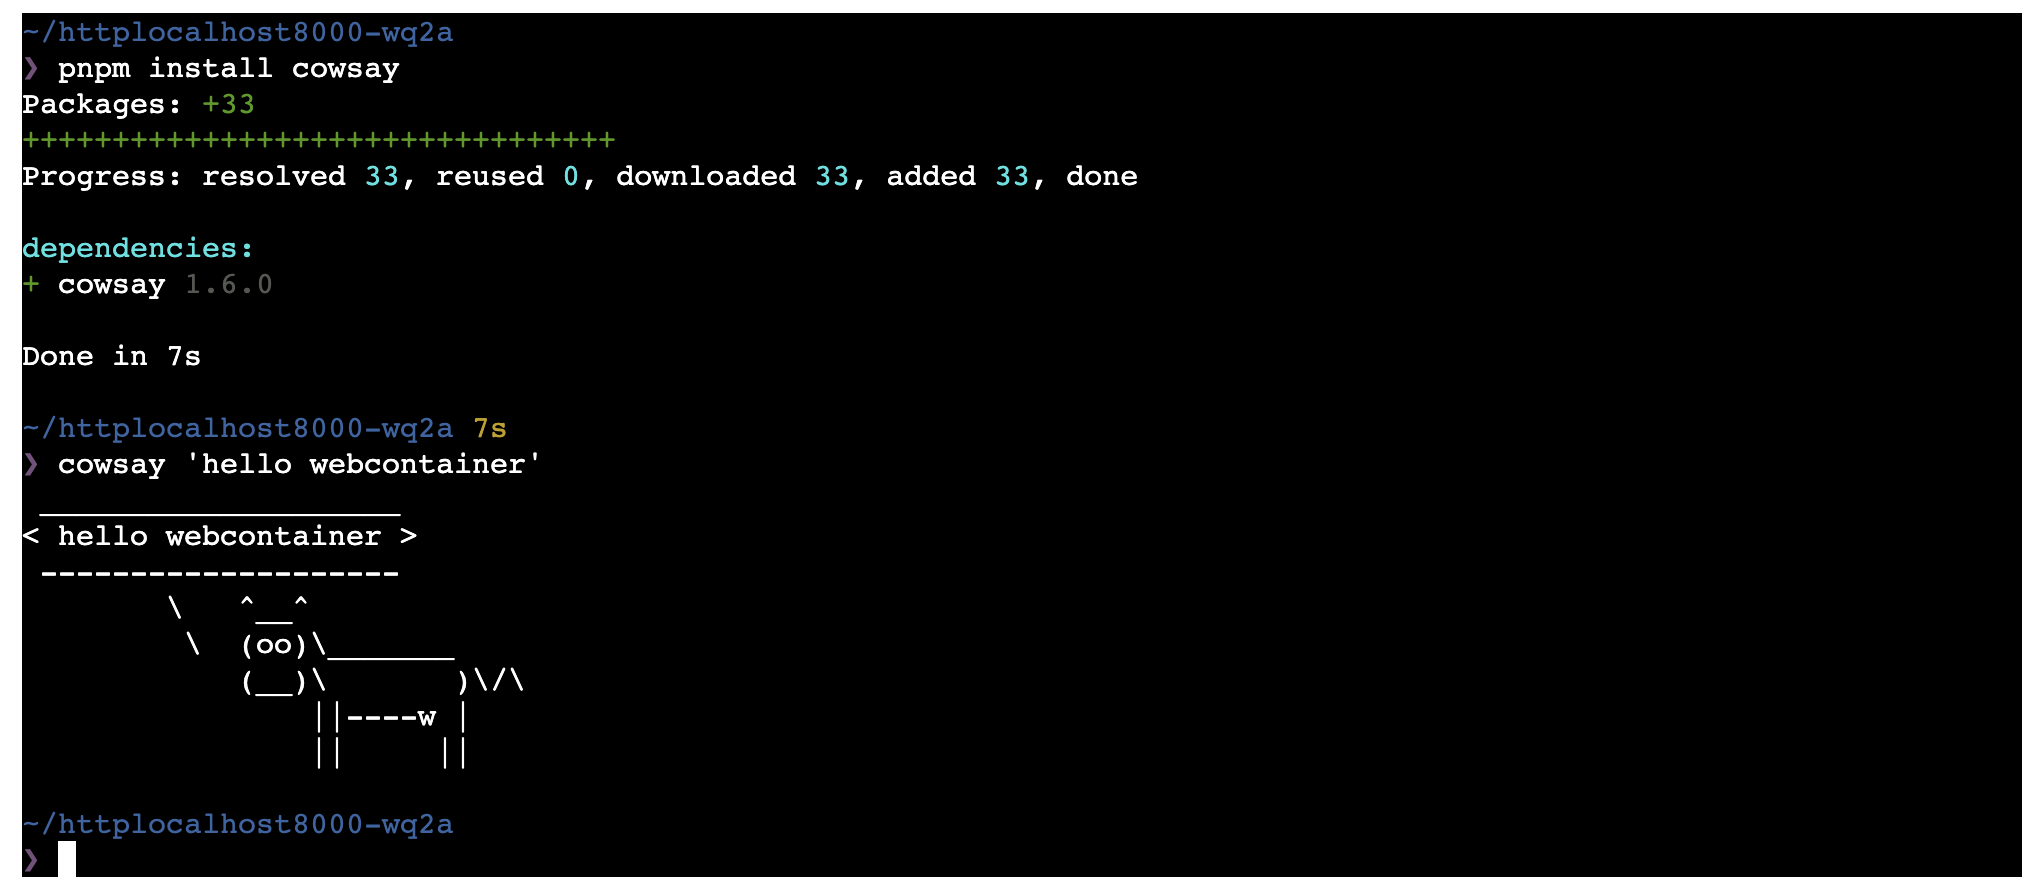
完美!!!(甚至可以启动devServer,感兴趣可以执行下npx create-react-app .试一下)
文件操作
WebContainer 通过实例的mount方法挂载文件系统,最简单的一个例子如下
async function init() {
  containerRef.current = await WebContainer.boot()
  await containerRef.current.mount(files);

  const preview = document.getElementById('preview') as HTMLIFrameElement;
  containerRef.current?.on('server-ready', (port, url) => {
    if (!preview) return;

    preview.src = url;
  });

  const term = await terminal()
  await startShell(term)
}
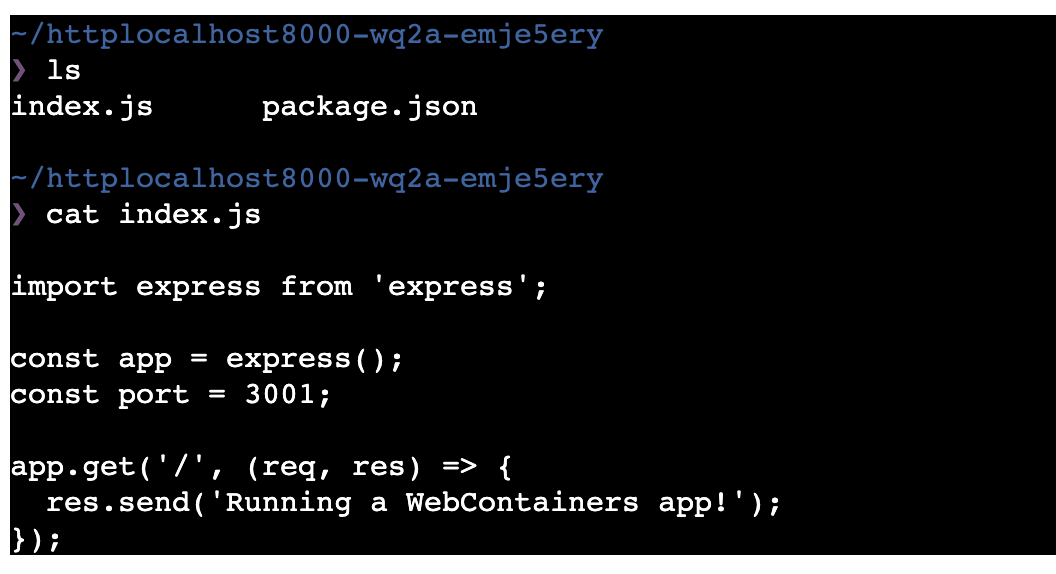
这个files其实就是一个js对象,保存了路径和文件内容的映射关系
export const files = {
  'index.js': {
    file: {
      contents: `
import express from 'express';

const app = express();
const port = 3001;

app.get('/', (req, res) => {
  res.send('Running a WebContainers app!');
});

app.listen(port, () => {
  console.log(\`App is live at http://localhost:\${port}\`);
});`,
    },
  },
  'package.json': {
    file: {
      contents: `
{
  "name": "webcontainer-app",
  "type": "module",
  "dependencies": {
    "express": "latest",
    "nodemon": "latest"
  },
  "scripts": {
    "start": "nodemon --watch './' index.js"
  }
}`,
    },
  },
};
到终端中看一下
如果想要对文件进行编辑,可以通过fs进行操作(仅保留了文件操作相关的代码)
export default function container() {
  const [editorContent, setEditorContent] = useState(files['index.js'].file.contents);

  async function writeFileContent(content: string) {
    if (!containerRef.current) return;

    setEditorContent(content)
    await containerRef.current.fs.writeFile('index.js', content)
  }

  return <div>
      <textarea value={editorContent} onChange={e => writeFileContent(e.target.value)} />
  </div>
}
当内容发生变更时通过fs.writeFile修改对应路径文件的内容

这里只用到了一个写文件的方法,更多方法可以看下文档,和NodeJS的文件API是类似的
⚠️:这WebContainer用到的文件操作只是在虚拟容器内部的操作,如果要持久化需要配合File System API。
总结
WebContainer 技术的出现,为WebIDE的实现打下了坚实的基础,网页中进行前端开发的dev环境不再需要通过远程连接到服务器的形式,可以直接在浏览器中执行,使得开发者可以更灵活地进行开发工作。