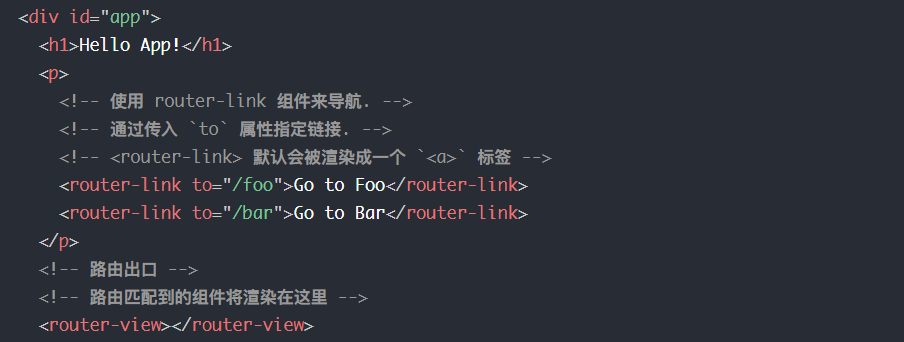
本篇只说原理,不说使用,如果不会使用请移步官网文档

任务分析
在实现之前我们来分析一下需要做的处理是什么,有了大纲才能轻松完成任务
- 首先vue-router是一个插件
- 其次可以监听路由变化
- 然后就是路由配置解析,说白了就是根据路由匹配组件
- 还要有全局组件router-link、router-view
插件
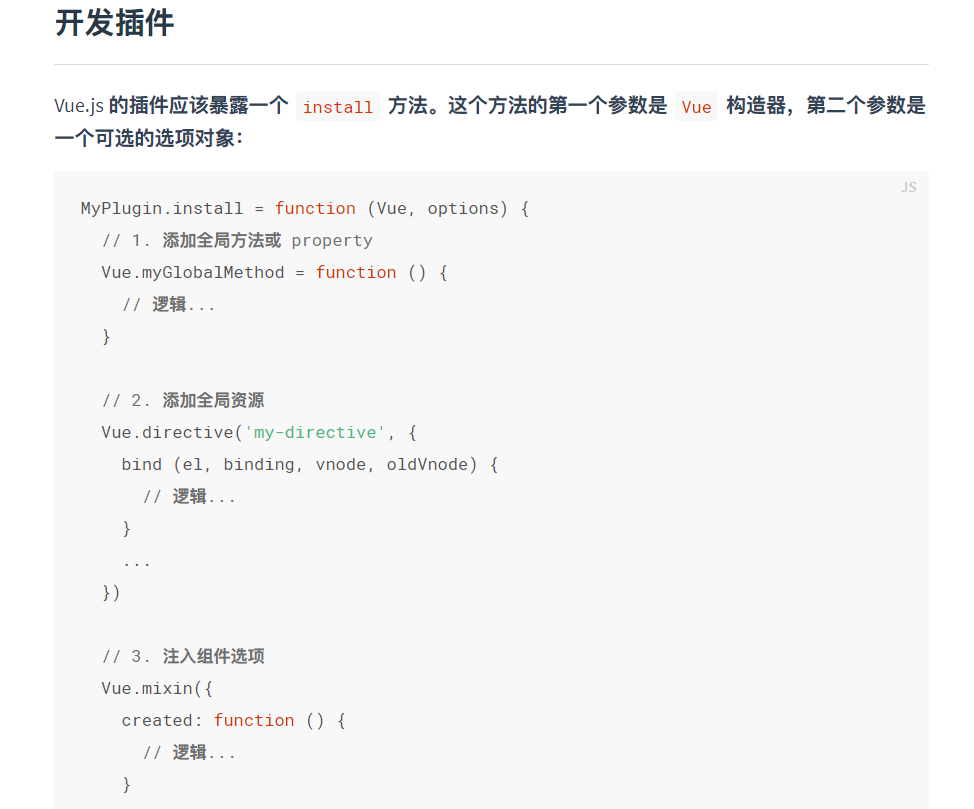
开发插件的说明在官网也有明确说明,如果你还不知道,我还是推荐你去看一下官网文档的插件部分,如果你实在不想去看文档,那就帮你贴张图吧

Vue在使用插件的使用通过Vue.use()来使用插件,会调用插件的install方法,那么我们首选来实现这个install方法
class VueRouter {
  init() {}
}
VueRouter.install = function (Vue) {
  // 混入,会和vue的生命周期一起执行
  Vue.mixin({
    beforeCreate() {
      // 指向vue实例,根组件执行一次
      if (this.$options.router) {
        Vue.prototype.$router = this.$options.router
        this.$options.router.init()
      }
    },
  })
}
Vue.use(VueRouter)
init负责初始化插件,那么现在整体框架已经OK了,在开始的任务大纲里面列出的其他任务就可以方法这里了
class VueRouter {
  constructor(options) {
    this.$options = options
    this.routeMap = {}

    // 利用Vue实现双向绑定
    this.app = new Vue({
      data() {
        return {
          current: '/'
        }
      }
    })
  }
  init() {
    this.bindEvents()
    this.createRouteMap()
    this.initComponents()
  }
  bindEvents() {

  }
  createRouteMap() {

  }
  initComponents() {

  }
}
这里利用了Vue来实现路由地址的响应式,这也是为什么vue-router只能用在Vue里面的原因
监听路由变化
监听路由变化的过程十分简单,只需要添加一个事件监听器即可
bindEvents() {
  // 如果不显示绑定this就会指向window
  window.addEventListener('load', this.onHashChange.bind(this))
  window.addEventListener('hashchange', this.onHashChange.bind(this))
}
onHashChange() {
  this.app.current = window.location.hash.slice(1) || '/'
}
上面的slice是为了去除#

配置路由解析
路由解析的目标就是我们在使用vue-router的时候配置的路由配置文件,如下
new VueRouter ({
  routes: [
    { path: '/', component: Home },
    { path: '/about', component: About },
  ]
})
那么这里要做的事就是将路由配置中的path和component关联起来
createRouteMap(options) {
  options.routes.forEach(item => {
    this.routeMap[item.path] = item.component
  })
}
实现全局组件
这里可以利用Vue的API——Vue.component
router-link

回忆一下我们要怎么使用这个组件,<router-link to="/link">跳转</router-link>,那么我们需要接收一个to属性,然后这个组件会被渲染为a标签
initComponents() {
  Vue.component('router-link', {
    props: { to: String },
    render(h) {
      return h('a', {attrs: {href: "#" + this.to}}, [this.$slots.default])
    }
  })
}
这里将to拼接为a标签的href属性,然后将内容通过slot传递
router-view
router-view的功能就是渲染,从缓存的路由配置中拿出并渲染匹配当前路由组件
initComponents() {
    // ···
  Vue.component('router-view', {
    render: (h) => {
      const component = this.routeMap[this.app.current]
      return h(component)
    }
  })
}
这里注意细节render跟上面link中的形式发生了一些变化,改用了箭头函数,因为这里用到的this,如果不使用箭头函数this指向就会改变
测试
现在已经完成了上面的内容,我们来测试一下
在根组件中编写代码
<div id="app">
  <router-link to="/">首页</router-link>
  <router-link to="/about">关于</router-link>
  <router-view></router-view>
</div>
在main.js中
引入路由文件并且添加到Vue实例参数中
import Vue from 'vue'
import App from './App.vue'
import router from './myRouter'

new Vue({
  router,
  render: h => h(App),
}).$mount('#app')
效果如下

到现在我们已经实现了hash模式下的vue-router,当然vue-router还有很多内置的API我们不一一讲解,vue-router还有history模式,如果你感兴趣,可以去研究一下
最后贴一份完整代码
import Vue from 'vue'
import Home from './views/Home';
import About from './views/About'

class VueRouter {
  constructor(options) {
    this.$options = options
    this.routeMap = {}

    // 利用Vue实现双向绑定
    this.app = new Vue({
      data() {
        return {
          current: '/'
        }
      }
    })
  }
  init() {
    this.bindEvents()
    this.createRouteMap(this.$options)
    this.initComponents()
  }
  bindEvents() {
    // 如果不显示绑定this就会指向window
    window.addEventListener('load', this.onHashChange.bind(this))
    window.addEventListener('hashchange', this.onHashChange.bind(this))
  }
  onHashChange() {
    this.app.current = window.location.hash.slice(1) || '/'
  }
  createRouteMap(options) {
    options.routes.forEach(item => {
      this.routeMap[item.path] = item.component
    })
  }
  initComponents() {
    Vue.component('router-link', {
      props: { to: String },
      render(h) {
        return h('a', {attrs: {href: "#" + this.to}}, [this.$slots.default])
      }
    })

    Vue.component('router-view', {
      render: (h) => {
        const component = this.routeMap[this.app.current]
        return h(component)
      }
    })
  }
}
VueRouter.install = function (Vue) {
  // 混入,会和vue的生命周期一起执行
  Vue.mixin({
    beforeCreate() {
      // 指向vue实例,根组件执行一次
      if (this.$options.router) {
        Vue.prototype.$router = this.$options.router
        this.$options.router.init()
      }
    },
  })
}

Vue.use(VueRouter)

export default new VueRouter ({
  routes: [
    { path: '/', component: Home },
    { path: '/about', component: About },
  ]
})


